Why does a simple weaving project go wrong so quickly?
For beginners, most mistakes don’t come from lack of creativity-they come from small habits that quietly affect tension, edges, pattern accuracy, and finishing.
A loose warp, uneven beat, skipped thread, or rushed selvage can turn a promising piece into something frustrating before you realize what happened.
This guide breaks down the most common weaving mistakes beginners make, so you can avoid them early and build cleaner, stronger, more confident woven work.
What Beginner Weavers Often Misunderstand About Warp Tension, Yarn Choice, and Loom Setup
Many beginner weaving problems start before the first pick is woven. Warp tension should be firm and even, not drum-tight; over-tightening can snap threads, distort selvedges, and make the shed harder to open on a rigid heddle loom or floor loom.
A practical test is to press lightly across the warp with your palm. If some threads feel slack while others feel sharp and tight, stop and adjust before weaving. I’ve seen beginners blame their loom when the real issue was uneven winding on the back beam, especially when using a budget loom kit without packing paper or warp sticks.
- Warp tension: Wind slowly, use packing paper, and advance the warp often instead of weaving too close to the heddle.
- Yarn choice: Avoid soft, stretchy knitting yarn for warp unless it is strong enough to handle abrasion.
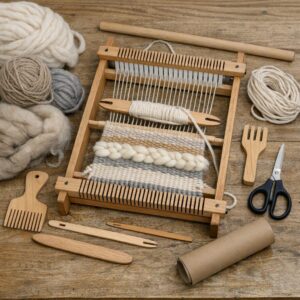
- Loom setup: Check threading, reed spacing, and tie-on knots before you start weaving the full project.
Yarn choice also affects cost, durability, and the finished fabric. Cotton carpet warp, mercerized cotton, linen blends, and wool weaving yarn behave very differently, so buying the cheapest yarn can become expensive if it causes broken ends or uneven cloth.
For real-world use, a scarf on a Schacht Cricket Loom may work beautifully with a balanced wool weft, while the same yarn used as warp could stretch and create wavy edges. Match the yarn to the project, sample when possible, and treat loom setup as part of the weaving process-not a step to rush.
How to Prevent Uneven Edges, Loose Weft, Skipped Threads, and Other Early Weaving Errors
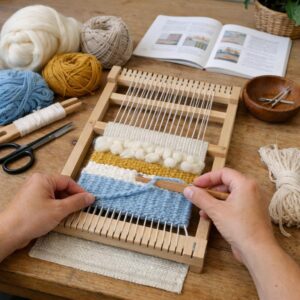
Most beginner weaving mistakes come from tension problems, not lack of talent. Uneven edges usually happen when the weft is pulled too tightly across the warp, so place the weft at a slight diagonal or gentle arc before beating it down. On a rigid heddle loom like the Schacht Cricket Loom, this small habit can prevent draw-in and save you from wasting expensive yarn.
Loose weft often appears when the beat is inconsistent, especially when switching between cotton, wool, or textured yarns. A practical fix is to weave a small sample before starting a scarf, wall hanging, or table runner, then note the yarn weight, heddle size, and beat pressure. In real workshops, I’ve seen beginners improve quickly just by keeping the same hand position and using a ruler to check width every few rows.
- Check warp tension before weaving; it should feel firm, not guitar-string tight.
- Use a shuttle that fits your loom width so the weft passes smoothly without snagging.
- Look for skipped threads every 2-3 rows instead of discovering them after several inches.
If threads keep skipping, inspect the heddle slots, reed, and warp path for crossed yarns or uneven threading. Good weaving tools, a quality loom kit, and even a basic online weaving class can reduce frustration and replacement yarn cost. Slow down at the edges, breathe, and fix small errors early-your finished fabric will look cleaner and more professional.
Troubleshooting Weaving Mistakes: When to Adjust, Unweave, or Keep Going
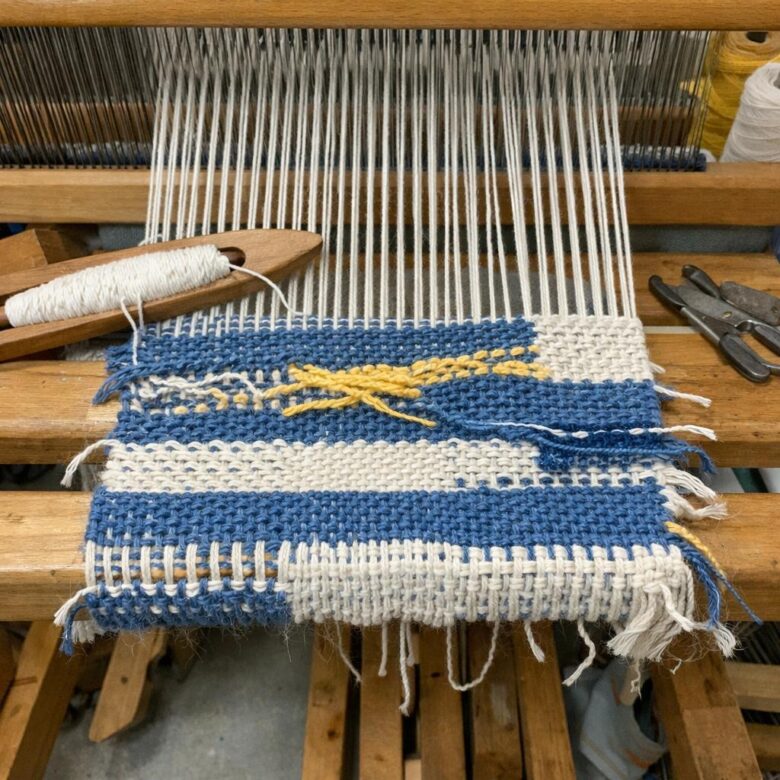
Not every weaving mistake deserves the same response. A skipped warp thread near the edge can often be corrected with a tapestry needle, while uneven tension across several inches may require unweaving before it affects the whole fabric. The key is to judge the mistake by visibility, structure, and how much work it will cost to fix later.
Use a simple rule: adjust small surface issues, unweave structural problems, and keep going when the flaw adds character without weakening the cloth. For example, if you are weaving a scarf and notice one loose weft pick after two rows, gently beat it into place with a weaving comb or Schacht weaving shuttle before continuing. If you find the same loose section six inches later, unweaving will usually save time compared with trying to hide it during finishing.
- Adjust: minor selvedge loops, one tight pick, or a small color change error.
- Unweave: broken warp threads, wrong threading, repeated pattern mistakes, or major tension problems.
- Keep going: tiny irregularities in beginner wall hangings, rustic textiles, or practice samples.
In real studio practice, I’ve found that beginners often wait too long because they fear “losing progress.” But unweaving ten minutes of work is cheaper than wasting premium yarn, loom accessories, and finishing supplies on a piece that will not hang straight or wear well.
Keep essential weaving tools nearby: a repair heddle, tapestry needle, sharp embroidery scissors, measuring tape, and a notebook for tracking warp tension issues. If you sell handmade textiles online through platforms like Etsy, fixing structural mistakes matters even more because product quality affects reviews, returns, and long-term customer trust.
Key Takeaways & Next Steps
Weaving improves fastest when you treat mistakes as signals, not setbacks. If a problem keeps appearing, pause before continuing and check the basics: tension, threading, beat, yarn choice, and loom setup. The best decision a beginner can make is to slow down early rather than fix a larger issue later. Start with simple projects, use materials that behave predictably, and keep notes on what worked. With patience and careful observation, each piece becomes more consistent, and the process becomes less frustrating and more rewarding.

Dr. Ethan Carver is a creative arts specialist focused on helping makers turn simple materials into practical, beautiful handmade projects. Through WeaversRock Crafts, he shares clear DIY tutorials, craft ideas, home décor inspiration, and beginner-friendly techniques for creative living.